
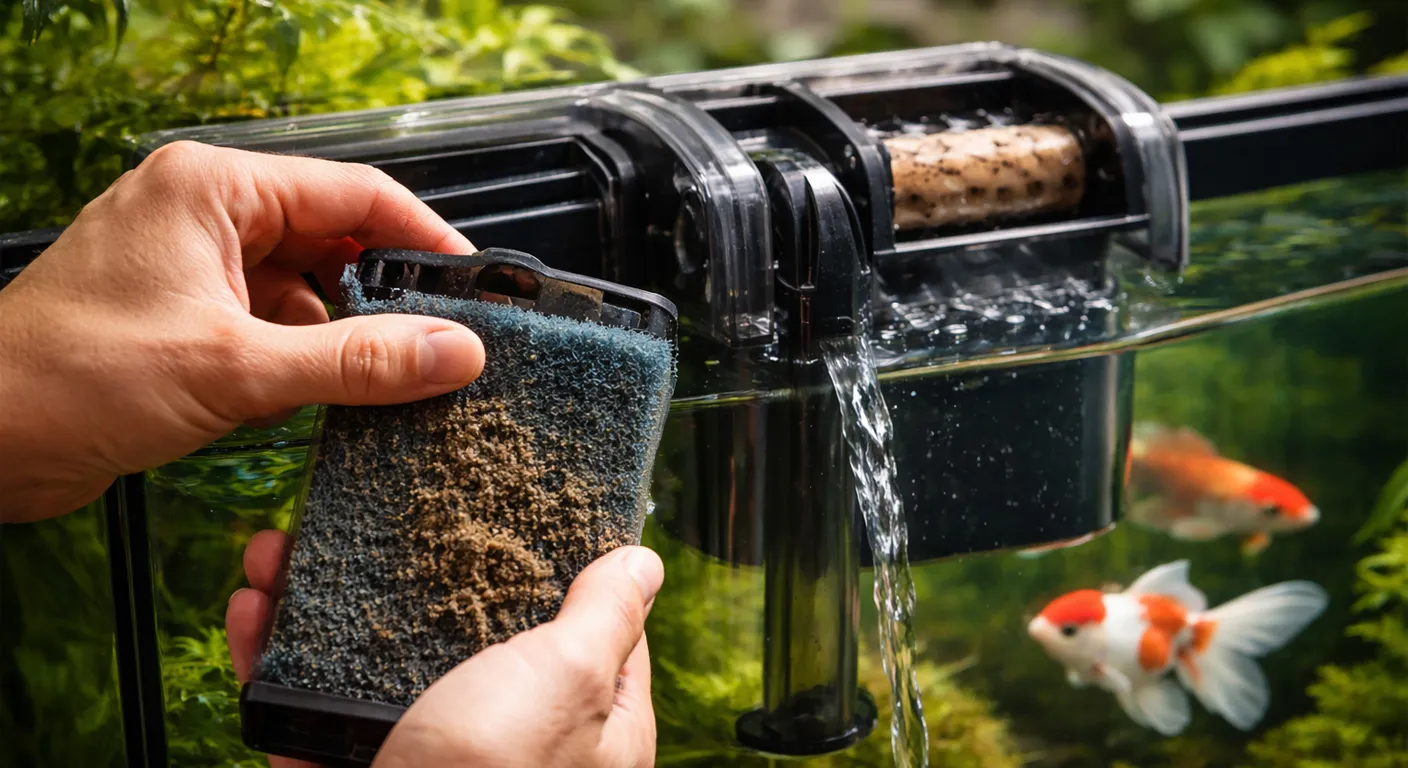
I still remember coming home one evening and stopping right in front of my aquarium. The night before, the tank was crystal clear. Now it looked hazy, the flow was weak, and my fish were hanging near the surface. I panicked, honestly. What went wrong overnight? But then I realized something. It wasn’t the fish or the water. It was the filter.
Here’s the thing about this. You don’t replace the whole filter, but you do clean and change the filter media on a schedule. Many beginners confuse filter replacement with water changes, or they think new media means cleaner water automatically. That’s not how it works. You can actually cause problems that way. Ammonia spikes happen. Fish get stressed.
In this guide, we cover the basics of how filters work. We explain different filter media types and when to replace them. I’ll show you cleaning schedules for HOB, canister, sponge, and undergravel filters. We walk through safe maintenance steps, too. Plus, how to catch problems before they turn serious, before your tank crashes.
What Is Aquarium Filter Maintenance and Why Schedule It
Filter maintenance is basically about balancing three things. You want to remove the debris that gets stuck. You want to keep the beneficial bacteria alive. And you want to replace the chemical media when it stops working. If you do this right, you prevent ammonia spikes and cloudy water. You avoid algae blooms and stressed fish. But you have to adjust the schedule based on your tank size. How many fish you have matters, too. And the water flow. Everyone’s tank is different.
The Three Core Filtration Stages

Mechanical Filtration
Mechanical filtration is the first line of defense. It physically catches debris before it can break down and mess up your water.
Traps uneaten food, fish waste, plant fragments, and floating stuff
Uses sponges, pads, cartridges, or filter floss to do this
Clogs the fastest and directly affects how fast your water flows
You have to rinse it the most often if you want good circulation
Biological Filtration
Biological filtration is the foundation of a healthy tank. This is the important one.
Houses the bacteria that convert ammonia to nitrite, then nitrite to nitrate
You find these bacteria in ceramic rings, bio-balls, porous sponges, and media blocks
Keeps the toxic waste from killing your fish even when the water looks clear
Very sensitive. Over-cleaning kills it. Chlorinated water kills it. Full media replacement kills it too
Chemical Filtration
Chemical filtration removes dissolved compounds from the water. It works differently from the other two.
Absorbs odors, discoloration, medications, and specific toxins
You use activated carbon, zeolite, and specialty resins for this
Designed to be temporary. You replace it, you don’t just rinse it
Optional for most tanks. A lot of people don’t even need it. Especially planted tanks or stable systems
Why a Maintenance Schedule Is Critical
Over-Cleaning Risks
The biggest mistake people make is cleaning too much. They think more cleaning means cleaner water. But that’s not how it works.
Kills beneficial bacteria colonies
Triggers ammonia or nitrite spikes
Can cause “new tank syndrome” even in established aquariums
Under-Cleaning Risks
On the other hand, if you don’t clean enough, problems start happening too. The filter gets clogged. Your tank gets worse over time.
Reduced flow and oxygenation
Rising nitrate levels (often >40 ppm)
Increased algae growth, bacterial infections, and fish stress
Aquarium Filter Media Types: Cleaning vs Replacing Timelines
Filter media do not all follow the same rules. Knowing what to rinse and what to replace prevents accidental crashes.
| Media Type | Rinse/Clean | Replace | Pro Tips |
| Mechanical | Every 1–2 weeks | 1–3 months | Rinse in old tank water to preserve bacteria |
| Biological | Only if clogged | Rarely (years) | Never replace all at once |
| Chemical | Not recommended | Every 2–6 weeks | Remove if not actively needed |
How Often to Clean Fish Tank Filters by Type
Different filters trap waste differently, so maintenance schedules vary.
| Filter Type | Routine Clean | Deep Maint | Ideal Use |
| HOB | 2–4 weeks | 2–3 months | Small to medium tanks |
| Canister | 4–8 weeks | 3–6 months | Heavily stocked tanks |
| Sponge/Internal | 1–2 weeks | Monthly | Fry, shrimp, nano tanks |
| Undergravel | Light siphon monthly | Rare | Old-school setups |
Safe Ways to Clean or Change Your Fish Tank Filter
Cleaning a filter safely is about protecting the bacteria while you get the flow back to normal. That’s the balance you need.

Step-by-Step Safe Cleaning Process
1. Prepare dechlorinated water or save old tank water from a water change
2. Turn off and unplug the filter
3. Remove mechanical media and gently squeeze or rinse in tank water
4. Lightly swish the biological media only if clogged
5. Replace chemical media if exhausted (never rinse)
5. Clean the impeller and housing with a soft brush
6. Reassemble and restart the filter immediately
Upgrades / Safe Swaps
If you’re getting a new filter, don’t just switch everything over right away. It takes time.
Run old and new filters together for 2–4 weeks
Transfer seeded media into the new filter
Never Do
These are the things that will cause real problems. Don’t make these mistakes.
Rinse media under tap water
Use bleach or soap
Replace all media at once
Clean filters during medication or right after adding fish
Key Signs Your Fish Tank Filter Needs Attention Now
Don’t wait for a schedule. Just pay attention to what’s happening in your tank. If you see low flow, that means your filter is clogged. If your ammonia or nitrite readings go up, you lost bacteria. Suppose nitrates get too high, usually above 25 ppm, it’s time to rinse and do a water change. Weekly testing is better than just following a calendar.
Visual / Operational Cues
These are the things you can see or hear that tell you something’s wrong.
Flow reduced by half or uneven output
Noisy or rattling impeller
Cloudy water or visible debris
Fish gasping or clamping fins
Test Triggers
But sometimes you can’t see the problem. That’s why you test the water. These numbers tell you what’s actually happening.
Ammonia >0.25 ppm → biological failure
Nitrite >0.5 ppm → cycle disruption
Nitrate >25 ppm → water change + filter rinse
Best Water Change Schedule with Fish Filter Maintenance
Water changes and filter cleaning go together. You don’t do them separately. The key is to watch your nitrate levels. If they go above 20 ppm, you need to change the water more often. Usually, 25 to 30 percent weekly works for most tanks. But small tanks need changes more often. And if you have a lot of plants, you can actually do it less. Plants eat up the nitrates.
By Tank Size / Stocking
Every tank is different, though. The size matters. How many fish you have matters, too.
10-gallon: 25% twice weekly
55-gallon (light stock): 30% weekly
Heavy stock (cichlids): 40% weekly
Sync Tips:
This is important. Clean your filter when you do your water change. Use the water you pulled out from the tank. Don’t use tap water. And don’t clean the filter on days when you feed a lot.
Clean filters during water changes using the removed tank water
Avoid cleaning on feeding-heavy days
Adjusters
Some things change how often you need to do this. If you overfeed, you need more water changes. If your plants are growing really well, you can do fewer.
Overfeeding → +20% frequency
Strong plant growth → −10% frequency
Fish Filter Troubleshooting for Common Problems
Low flow usually means your impeller is clogged. Clean it, and the flow comes back. If your ammonia suddenly spikes, you lost bacteria. That’s a bigger problem, but you can fix it. The key is to protect what bacteria are left and rebuild them fast. If your whole tank crashed, the fastest way to recover is to run old and new media together. That transfers the bacteria back.
Common Issues & Fixes
These are the problems that show up most often and what actually works to fix them.
Clogged filter: Brush and rinse the impeller, intake, and hoses to restore proper flow.
Biological media loss: Perform a 50% water change, stop feeding for 24–48 hours, and add a trusted bottled bacteria product.
Full media dump or cartridge replacement: Place old media inside or alongside the new filter for 2–4 weeks to reseed bacteria.
Power outage or medication damage: Test water daily, increase aeration, and reseed beneficial bacteria as needed.
Preventive Filter Care
Preventing problems is way easier than fixing them. If you just do a few simple things, you won’t have to deal with all this stress.
Spares kit: Keep backup impellers, O-rings, and intake sponges on hand to avoid downtime if parts fail.
Monthly inspection: Check seals, impeller shafts, tubing, and flow rate before performance drops.
Routine flow checks: Compare current output to normal flow so clogs are caught early.
Gentle, scheduled maintenance: Light, frequent cleaning prevents emergency interventions that harm bacteria.
Conclusion
Filter care is not about throwing away the whole thing and buying a new one. It’s about taking care of each part of the media correctly. Mechanical media you rinse regularly. Biological media you protect and don’t touch too much. Chemical media you replace when it’s done working.
The real thing to understand is balance. That’s it. If you clean too much, you kill the bacteria and ammonia spikes happen. If you don’t clean enough, waste builds up, and your water quality gets worse. Neither one is good.
Create a routine that works for your tank. Think about the size. How many fish do you have? What kind of filter are you using? Once you get into a routine and you’re gentle with it, your tank stays balanced. And when your tank is balanced, your fish stay healthy. That’s the whole point.
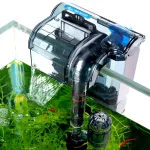
AQQA 12W 112GPH Hang On Aquarium Filter, Power...
Original price was: $14.99.$9.99Current price is: $9.99.
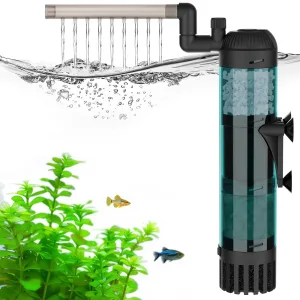
Aquariums Power Filter, 74GPH, for 5-10 Gal Tanks
Original price was: $25.99.$20.79Current price is: $20.79.

Add comment
You must be logged in to post a comment.