
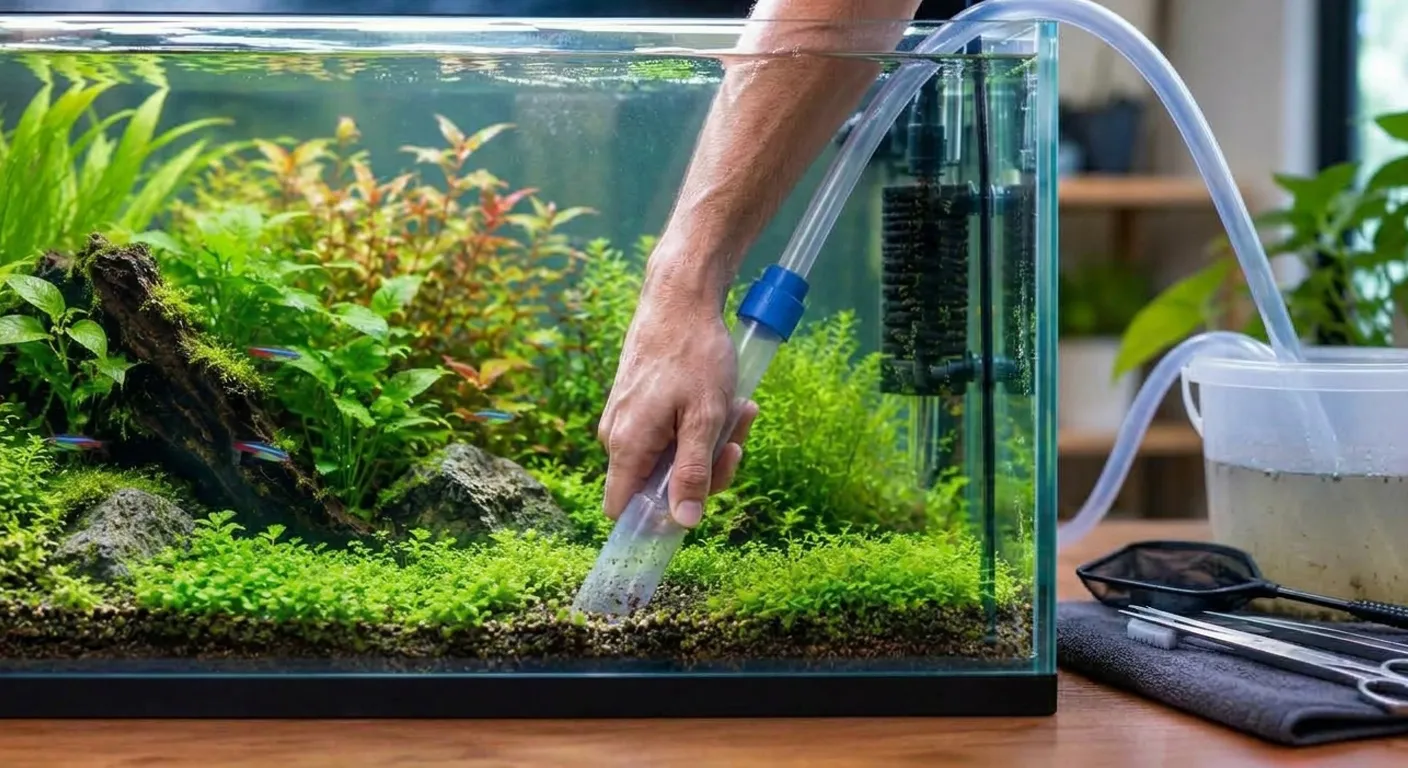
A planted aquarium still needs regular cleaning, but the goal differs from a bare tank. You want to remove debris without disturbing established plants, roots, or substrate. The safest approach is to clean by zone and adjust your method to wherever the waste has settled.
In this guide, we will explain when surface cleaning is enough and how to match your method to the substrate. We will also cover how to lift debris around rooted plants and carpets, and how to clean leaves without tearing them.
Should You Vacuum a Planted Aquarium
Planted tanks collect waste like any other, yet deep vacuuming is not always necessary. The right method depends on your substrate, your planting density, and the exact spot where debris has gathered.
Surface Cleaning Is Different From Deep Vacuuming
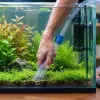
Surface cleaning means collecting debris that rests on or just above the substrate. You hold the siphon tube slightly above the bed and let the flow draw in loose material. Deep vacuuming pushes the tube into the substrate to pull out whatever sits below.
The difference matters because rooted plants use the substrate as both an anchor and a food source. Aqua Essentials recommends hovering above planted substrate instead of pushing the tube into it. Boodleshire separates conventional gravel cleaning from soil-based planted setups, where digging in does more harm than good. Advice such as “always vacuum” or “never vacuum” therefore falls apart quickly.
Decide What Actually Needs Cleaning
Look for three things before you pick up the siphon:
Loose dead leaves lying on the substrate or caught between stems
Uneaten food that has sunk and started to rot
Visible heaps of debris, usually in corners or behind decor
Mulm is the fine brown layer of decayed plant matter and fish waste that builds up over time. A thin film of it is normal, and some plants can draw nutrients from it. Remove piles, not dust. The sections below explain how to handle each case.
What You Need Before You Start
A small kit makes planted tank cleaning calmer and faster.
Gather a Small, Purposeful Toolkit
A siphon with manageable suction, so you can control the flow near delicate roots
A narrower hose for confined spaces between stems and hardscape
Aquascaping scissors, which cut away dead leaves without pulling the plant
A dedicated aquarium bucket, kept free of soap and household cleaners
A soft brush or turkey baster for gently dislodging accessible debris
Replacement water, plus dechlorinator and a thermometer to match the temperature
Divide the Tank Into Four Zones
Decide how each area will be handled before you begin. Dragging the vacuum across the whole tank causes most of the damage people blame on cleaning.
Open substrate: bare areas without roots, where surface cleaning is simplest.
Rooted plant groups: swords, crypts, and stem clusters whose roots hold the substrate together.
Carpeting plants or dense planting: areas where debris sinks between leaves and cannot be siphoned directly.
Debris pockets around rocks and wood: gaps where waste gathers because water barely moves.
Choose one approach per zone before you begin.
Choose a Cleaning Method for Your Substrate
Two tanks with the same substrate can need different treatment once plants are involved. A gravel bed with a dense carpet is not cleaned like an empty gravel patch. The table below helps you choose a method.
| Substrate | What to explain | Main issue to address |
| Inert gravel | Stones are heavy, so a siphon lifts debris while the gravel drops back. Shallow passes work in open areas. | Roots tangle between stones, so deep passes can uproot plants. |
| Sand | Fine grains travel up the tube easily. Keep the tube above the surface and use low flow. | Sand enters the siphon fast and can bury low plants. |
| Aquasoil | Pellets are soft and rich in nutrients. Clean the surface only, using a narrow tube held above the bed. | Granules crumble into dust and cloud the water when disturbed. |
| Soil beneath a cap | Sand or gravel covers a layer of soil. Never push the tube through the cap. | A breach releases soil into the water and can feed algae. |
Cap depth deserves attention in the last case. A cap of roughly 2.5 to 5 cm (1 to 2 inches) gives a safer margin than a thin layer that tears under the tube.
How to Clean a Planted Aquarium Step by Step
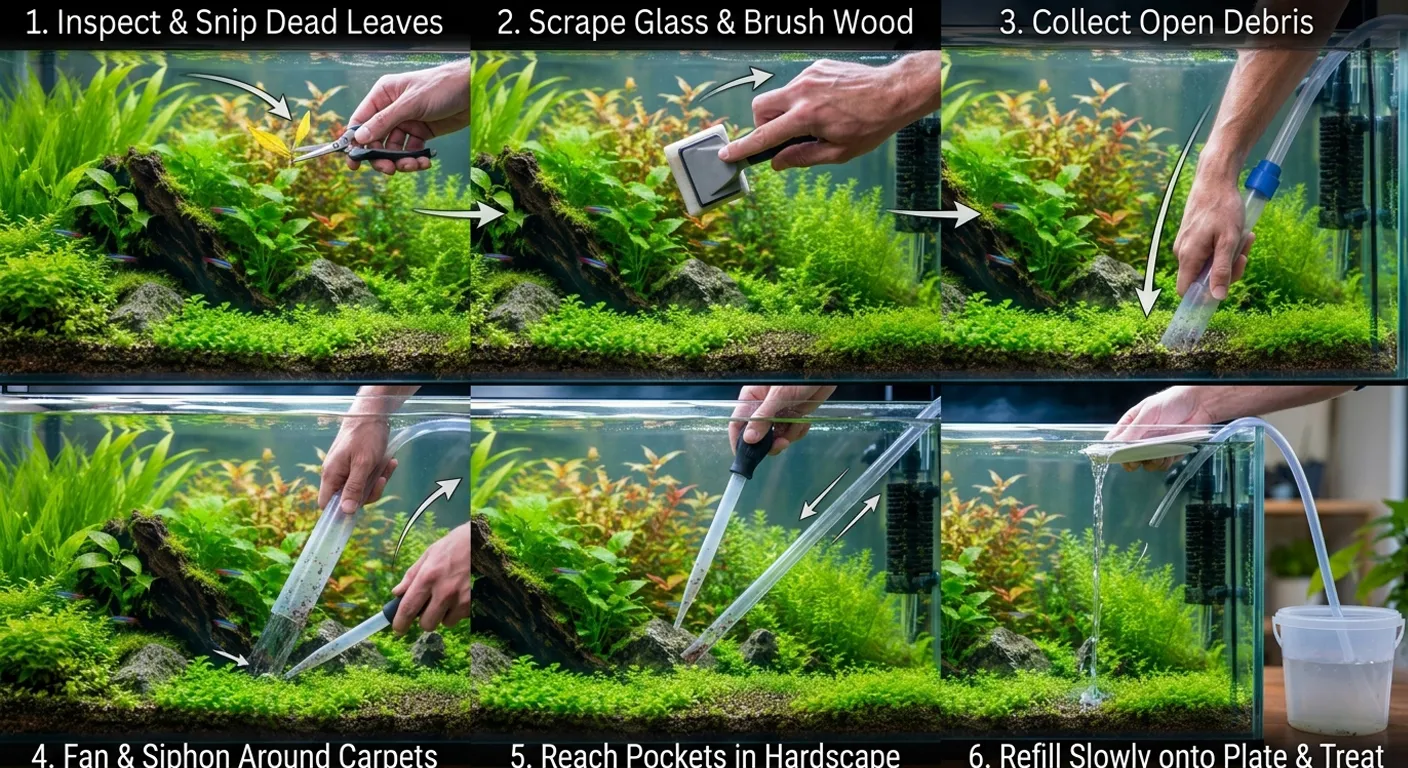
The order below keeps disturbance low. Debris stirred up early gets collected later, and the plants stay where you placed them.
Unplug the heater and switch off the filter before you start. Both can be damaged when the water level drops below them.
Step 1: Inspect Plants and Remove Loose Dead Material
Scan each zone for yellow, melted, or detached leaves.
Snip dead leaves close to the stem instead of pulling them free.
Lift floating fragments with a small net or your fingers.
Work slowly, because yanking can loosen roots that took weeks to settle.
Finish this step first so loose pieces do not drift into the siphon later.
Step 2: Clean Glass and Accessible Hardscape
Scrape algae from the glass with a scraper that suits your tank. Acrylic needs a soft pad, since blades scratch it.
Check the pane for stuck sand grains first, because they leave scratches.
Brush rocks and wood gently with a soft brush, and never use soap.
Wait a minute so loosened debris can settle before you siphon.
Step 3: Collect Debris From Open Substrate
Start the siphon and hold the tube just above the bed.
Move in slow lines so the flow lifts debris without pulling in substrate.
Pinch the hose or raise the tube whenever grains begin to climb.
Aim to remove about 20 to 30 percent of the tank volume across the whole session, since the siphon doubles as your water changes.
Step 4: Clean Around Rooted Plants and Carpets
Switch to the narrower hose near the roots and keep it above the base.
Fan the water with your hand, or blow gently with a baster, to lift debris out of the carpet.
Siphon the suspended debris from above rather than pushing the tube between leaves.
Check the carpet edges after each pass, since runners lift easily.
Leave heavy mulch under dense carpets alone, because that area rarely needs more than light attention.
Step 5: Reach Debris Pockets Around Rocks and Wood
Blow waste out of gaps with a baster, then siphon it from the opening.
Angle the narrow hose slowly into the gap instead of forcing it.
Avoid shifting hardscape, because roots often grip the stones and wood around them.
Step 6: Refill Carefully and Restore Equipment
Treat new water with a dechlorinator and match the tank temperature within a degree or two.
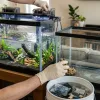
Pour onto a plate, bowl, or your hand so the stream does not dig into the substrate.
Refill slowly, which keeps stems and carpet from floating up.
Restart the filter and heater only after the water covers both.
How to Clean Plant Leaves Without Damaging Them
Leaf cleaning matters as much as substrate cleaning, because coated leaves absorb less light.
Separate Loose Debris From Attached Algae
Loose particles rest on the surface and leave with moving water. Algae grips the leaf and calls for a different approach, so treat the two as separate problems.
For loose debris, squirt water gently from a baster or fan the leaf with your hand. For attached seaweed, check leaf texture before touching it. Tough leaves such as Anubias and Java fern tolerate a soft toothbrush used lightly. Thin or finely cut leaves tear easily and should never be rubbed. No single scrubbing method suits every plant.
Decide Whether to Clean or Prune
Remove a leaf when it is melting, torn, or covered so heavily that cleaning would damage it. Old Anubias leaves can hold algae for months, so trimming one is kinder than scrubbing it.
Keep trimming limited to maintenance. Cut damaged leaves only, and leave the shape of the aquascape alone. Chemical dips and whole tank algae treatments are outside the scope here. If algae keeps returning, treat it as a separate problem, because it usually points to light, nutrients, or flow.
Common Cleaning Problems and When to Stop
| Problem | Point to explain |
| Substrate enters the siphon | The tube is too deep, or the flow is too strong. Pinch the hose, raise the tube, and drop the grains back into the tank. |
| A plant lifts or starts leaning. | Roots lost their grip. Press the base back gently, then stop cleaning near that plant. |
| Carpet edges rise | The flow pulled up the runners. Press them down with tweezers and clean that area from above only. |
| A large sediment cloud develops. | Pause and let the cloud settle. The filter clears most of it, and a baster handles the rest later. |
| Debris cannot be reached easily. | Blow it open with a baster, then siphon it. Small hidden debris can wait until the next session. |
Each is a signal to adjust your technique. A brief cloud in a healthy tank rarely becomes a water quality emergency. Stop for the day if plants keep lifting or the substrate keeps churning after you have changed your approach.
After Cleaning: Check the Tank and Plan the Next Session
Complete a Short Check After Cleaning
Plants remain anchored, and none are lying loose on the substrate.
No leaves or debris float at the surface, so net out anything left.
The filter, heater, and light run normally.
Fish swim and breathe normally, without gasping or hiding.
Test ammonia and nitrite if you disturbed the substrate heavily.
Adjust the Routine to What the Tank Shows You
No single deep vacuuming schedule fits every planted tank. Base the next session on visible accumulation, planting density, feeding habits, and the trend in your water tests.
Pay attention to the places where debris keeps returning. Boodleshire identifies low flow areas as spots where waste collects. If the same corner fills every week, check your circulation. Redirecting a filter outlet or thinning a dense planting often solves the problem better than cleaning more often.
Conclusion
Cleaning a planted aquarium is mainly about removing accessible debris while protecting the plants and substrate that hold the layout together. The right approach depends on the substrate, the planting density, and the location of the debris, not on one method applied to every tank.
Focus on the areas that truly need attention, and work around established roots and carpets. Stop or adjust your technique when plants begin to lift, or the substrate is disturbed more than necessary. Start with gentle, targeted cleaning, and let the condition of the tank guide your next session.

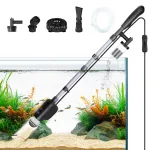
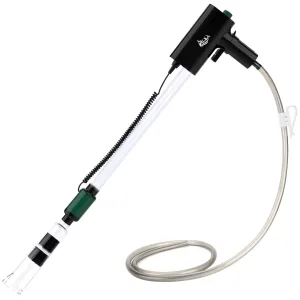
AQQA 5-in-1 Aquarium Gravel Cleaner Set For Removing...
Original price was: $35.59.$30.39Current price is: $30.39.



Add comment
You must be logged in to post a comment.