
Opening a shrimp shipment and finding your new colony barely moving after hours in transit is a rough start to shrimp keeping. The water in the bag may look clear, but sudden shifts in temperature and water chemistry can trigger stress, failed molts, and losses you did not expect on day one.
Drip acclimation is one of the safest ways to introduce shrimp into a new aquarium. By slowly matching the water parameters between the shipping bag and your tank, this method reduces shock and gives your shrimp a real chance to settle in without a rough transition.
This guide walks through seven simple drip acclimation steps, covers the equipment you need. If you’re still setting up a shrimp tank in a small space or cycling your tank before adding shrimp, it’s worth having that groundwork done before your shipment arrives.
Why Drip Acclimate: The Numbers
Drip acclimation takes longer than dumping shrimp straight into a tank, but the numbers make the extra time worth it.
Survival rates run 90 to 95 percent with drip acclimation, compared to 50 to 70 percent with dump acclimation.
Shrimp are three to five times more sensitive to parameter swings than most aquarium fish.
The critical window sits between 24 and 48 hours after introduction, since most deaths happen during this stretch.
Total time investment is about 15 minutes of setup plus one to three hours of monitoring, most of it hands off.
The equipment costs $10 to $25 and can be reused for years.
That small investment can prevent 100 to 500 dollars or more in losses per shipment.
Step 1: Gather Equipment
This step takes about five minutes and costs between 10 and 25 dollars if you are starting from scratch.
Must have items:
Airline tubing, roughly 3/16 inch wide and four to six feet long, costs 2 to 5 dollars.
A food-grade bucket holding one to two gallons costs 5 to 10 dollars.
A turkey baster or pipette costs 2 to 4 dollars.
A control valve is optional but recommended, and costs 3 to 8 dollars.
Optional extras include a TDS meter for around 15 to 20 dollars, a purpose-built drip box between 15 and 25 dollars, and an air stone for 5 to 8 dollars.
Avoid tubing that has ever held chemicals, buckets cleaned with soap, and any metal containers. Residue from cleaning products or metal ions can poison shrimp long before a slow drip would ever hurt them.
Step 2: Inspect the Shipment and Prep
Give yourself another five minutes here before touching the drip line.
What to check:
Count your shrimp and note any dead on arrival. A rate of 5 to 10 percent is typical for long-distance shipping and not usually a red flag on its own.
Look at water clarity and give it a sniff. Clear water is normal. A strong ammonia smell means you should speed up the acclimation rather than stretch it out.
If something looks wrong, photograph the bag within an hour so you have proof for a seller claim.
Prep the space:
Dim the tank lights, which can cut stress by roughly 40 to 50 percent during this vulnerable window.
Place your bucket 12 to 24 inches below the tank so gravity can pull water through the line without a pump.
Rinse your tubing with tank water first to clear out dust or storage residue.
Step 3: Set Up the Drip Line
With equipment ready and shrimp inspected, the actual setup only takes about five minutes.
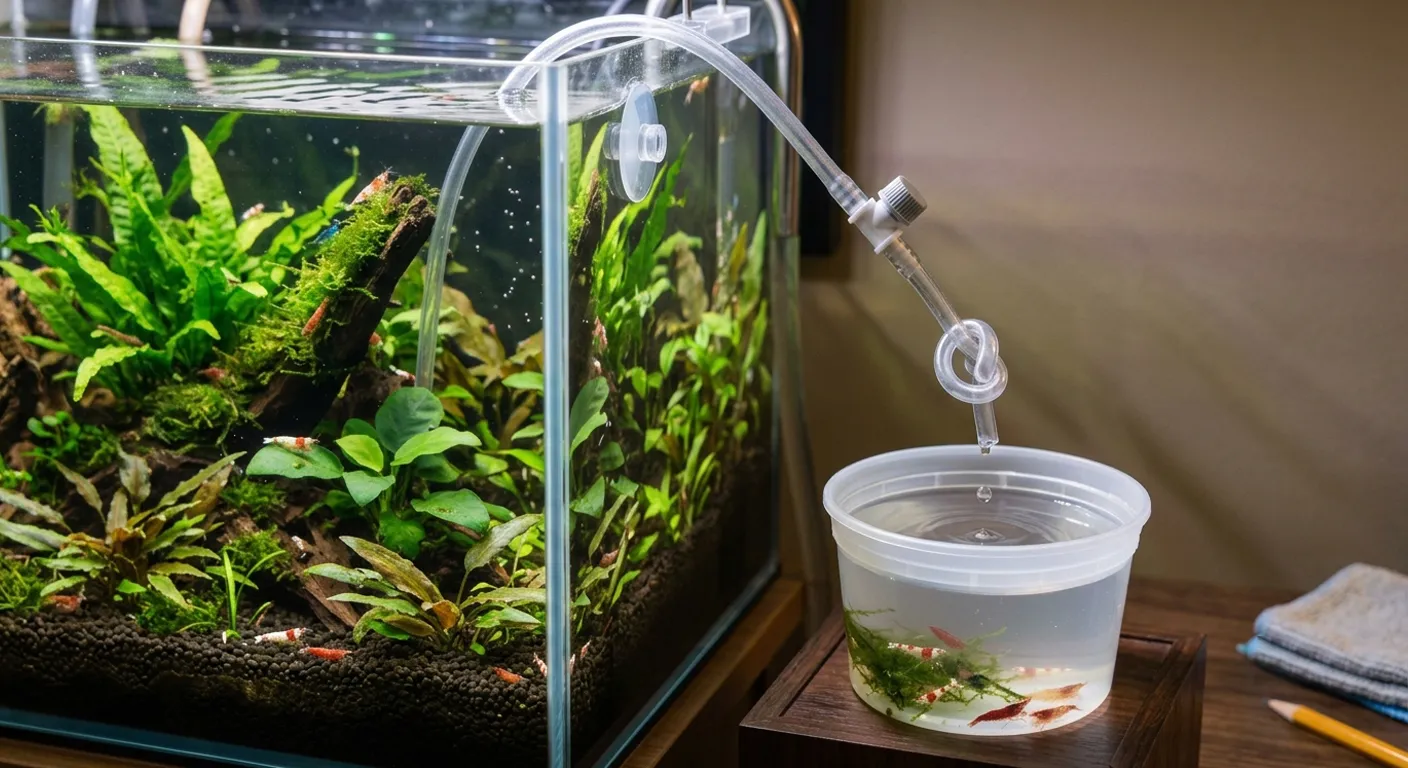
Pour the shrimp along with their shipping water, usually one to two cups or 250 to 500 milliliters, into the bucket. Attach the control valve to one end of the tubing. Submerge the other end in your tank and start the siphon, either by sucking gently on the tubing or using the submerge and fill method.
Secure the tubing to the tank rim with a suction cup so it does not slip out mid-process. Before walking away, confirm the flow is moving from tank to bucket, not the other way around. A reversed line will dump tank water quickly instead of slowly conditioning your shrimp.
Step 4: Adjust Flow and Monitor
This stage takes the longest, usually one to three hours, and needs a check-in every 15 to 20 minutes.
Ideal flow rate sits around two to four drips per second, which works out to roughly 100 to 200 milliliters per hour. Faster than five drips per second creates shock risk and defeats the entire purpose of the process. Slower than one drip per second lets ammonia build up in the bucket and stretches the wait longer than needed.
What to monitor:
Flow rate, since it tends to slow as the tank water level drops, so re-adjust every 20 to 30 minutes.
Shrimp behavior. Active movement is a good sign. Huddling in a corner or lying still is worth watching closely.
Bucket water level, aiming for two to three times the starting volume before you stop the drip.
When to stop depends on the species. Hardy Neocaridina shrimp with close starting parameters usually need about an hour. Most standard shipments call for two to three hours. Sensitive Caridina or wild-caught shrimp benefit from three to four hours. Alternatively, stop once the bucket volume has doubled or tripled, meaning tank water now makes up 50 to 75 percent of the total.
Step 5: Transfer Shrimp to the Tank
This final transfer takes about five minutes, but the details matter.
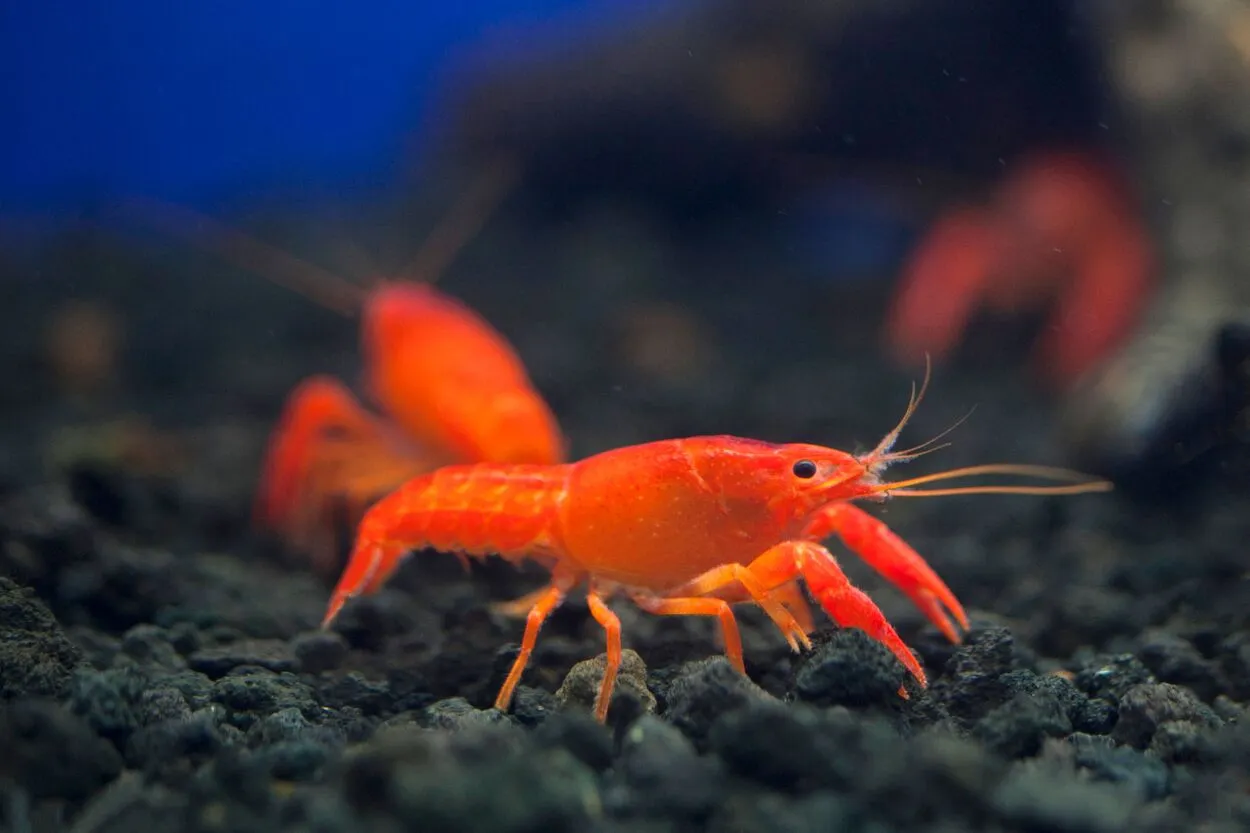
Do not pour the shipping water into your tank under any circumstances. Use a turkey baster or a soft net to lift shrimp out gently one at a time. Release them near plants or hardscape where they can hide immediately. Discard every drop of the leftover shipping water down the drain.
After the transfer:
Skip feeding for the first 24 hours. Shrimp can comfortably go 7 to 14 days without food, so a day of rest is nothing to worry about.
Keep the lights dim or off for the next two to four hours.
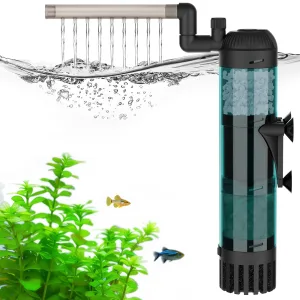
Leave the tank alone for the first 12 hours. Tapping the glass or rearranging decor now adds stress at the worst possible time. This first stretch goes more smoothly in a tank running gentle, shrimp-safe filtration rather than a high-flow setup built for fish.
Steps 6 and 7: Post Acclimation Care and Troubleshooting
The next 24 to 48 hours decide whether your shrimp settle in well.
Normal behavior looks like hiding for the first 12 to 24 hours, covering 80 to 90 percent of a healthy shipment. Gradual emergence typically starts on day two, with active feeding returning by day three.
Warning signs after 48 hours include shrimp lying on their side, a white ring visible around the body from a failed molt, or constant lethargy with no improvement. If you spot these, test your water for ammonia, nitrite, GH, KH, and pH, and check for hidden predators like fish or aggressive snails sharing the tank.
Common issues and fixes:
If the drip stops from an air bubble, tap the tubing gently, resubmerge the tank end, and reprim the line.
If the bucket overflows, remove the excess water with a baster and discard it, then use a larger bucket for your next shipment.
If shrimp start dying mid-acclimation, speed up the drip rate and transfer them sooner. Contact the seller if mortality exceeds 15 percent.
If shrimp are still hiding after 48 hours, this is often normal for shy or wild-caught species. Resist the urge to rearrange the hardships, since that resets their stress clock.
Species Specific Timing
| Species | Hardiness | Acclimation Time | Survival with Drip | Notes |
| Neocaridina (Cherry, Blue Dream) | High, tolerates a wide parameter range | About 1 hour | 95 percent or higher | Forgiving of minor GH and pH swings, good choice for beginners |
| Caridina (Crystal Red, Bee) | Moderate, sensitive to GH and TDS shifts | 2 to 3 hours | 90 to 93 percent | Needs closely matched water hardness; avoid rushing this group |
| Wild or Import (Amano, Bamboo, Cardinal) | Low, easily stressed by any change | 3 to 4 hours | 85 to 90 percent | Longest transit times often mean weaker starting conditions; extra caution pays off |
Temperature adjustments matter alongside chemistry. A gap under 3 degrees Fahrenheit, or about 2 degrees Celsius, needs no special handling beyond the standard drip. A gap of 3 to 5 degrees Fahrenheit, roughly 2 to 3 degrees Celsius, calls for extending your drip time by 30 to 60 minutes. Anything above 5 degrees Fahrenheit, or 3 degrees Celsius, should be treated as a sensitive shipment regardless of species, since large temperature swings stress shrimp as much as chemistry does.
Conclusion
This guide covers the full seven-step drip acclimation process, from gathering equipment to safely transferring shrimp and caring for them through the first 48 hours.
Take your time with each step, never add shipping water to your tank, and keep your water parameters stable throughout. A proper drip acclimation cuts down on stress and gives your shrimp a far better shot at survival than a quick dump ever could.
Use this method for every new shrimp shipment you bring home. Paired with steady tank maintenance, it gives your colony the best possible start and keeps them healthy well past the first nervous week.

Add comment
You must be logged in to post a comment.