
If the water level in your aquarium keeps dropping, the first thing to figure out is whether you are dealing with evaporation or an actual leak. These two problems look similar at first glance, but they call for completely different responses.
Slow water loss that happens over several days or weeks is usually evaporation, especially in tanks without a lid or in warm, dry rooms. Fast water loss, dampness around the aquarium, or water that stops dropping at a specific level almost always points to something else. That something could be a leaking tank, a faulty filter, a loose hose, splash-out from equipment, or back siphoning through an air line.
This guide will walk you through how to tell evaporation apart from a genuine leak, what typically causes water loss in a home aquarium, how to refill the tank the right way, and what you can do to stop the problem from repeating itself.
Is Your Aquarium Leaking or Just Evaporating
Before jumping into a full inspection, take a moment to observe what is actually happening around your tank. The pattern of the water loss, along with the condition of the surrounding area, usually tells you which category you are dealing with.
Signs It Is Evaporation
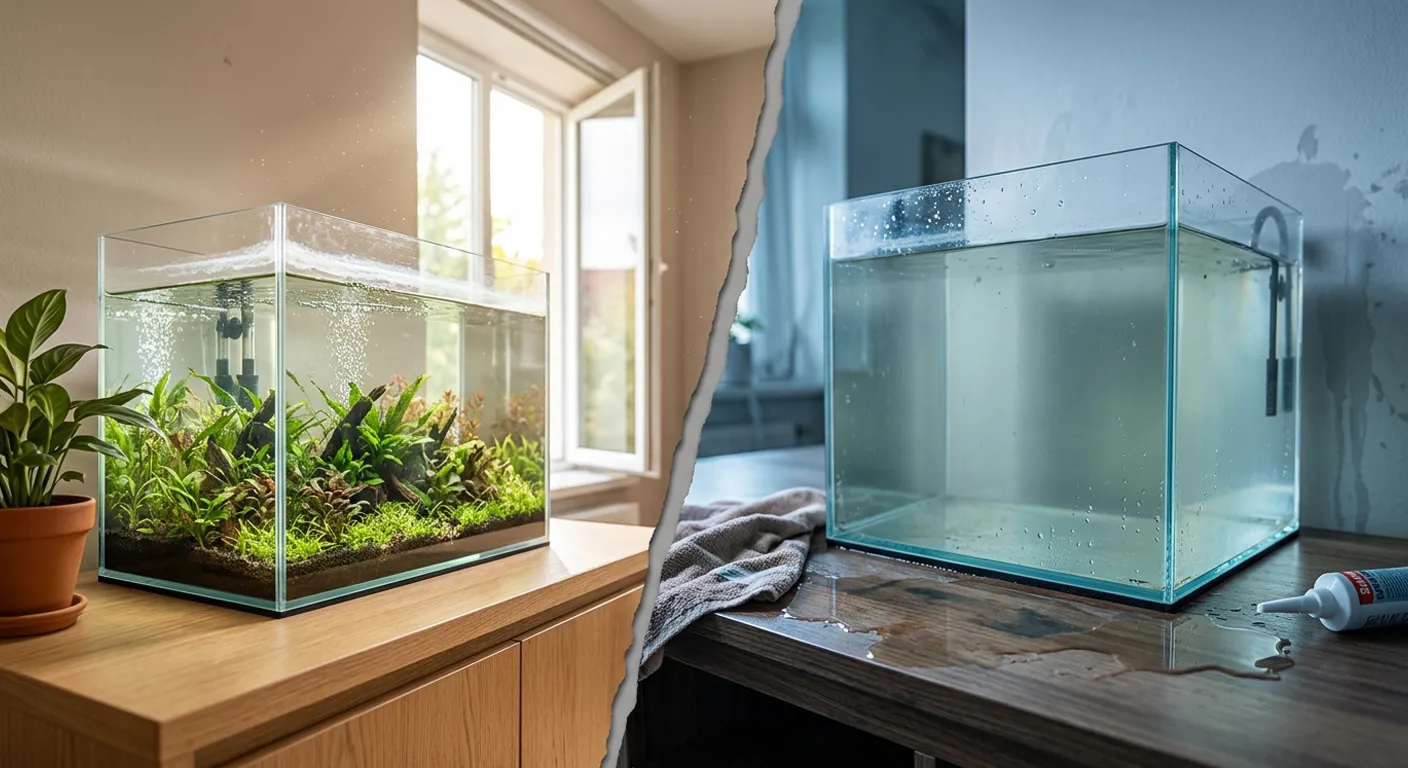
Evaporation tends to be gradual and predictable. You will notice the water level dropping slowly over days or weeks rather than hours. Everything around the tank, including the stand, the floor, and nearby furniture, stays completely dry.
A few conditions make evaporation worse:
Open-top tanks with no lid or cover glass
Warm rooms, especially those with limited air circulation
Dry indoor air, which is common during winter months when heating systems run often
Strong surface agitation from filters, air stones, or wavemakers, which speeds up water leaving the surface
The fix is fairly straightforward: adding a lid or cover glass reduces the surface area exposed to open air, which slows evaporation significantly. You can also adjust filter output to reduce surface agitation, and if you have a fan blowing directly across the tank, moving it elsewhere helps too.
Signs It Is a Leak
A leak announces itself differently. You might notice dampness, standing water, a crust of dried minerals, or a musty smell near the base of the tank. A warped stand or a consistently wet floor are sstrongly indicatesthing is escaping the system.
One of the clearest signs of a true leak is speed. If the water level drops noticeably within a few hours, or if it drops to one specific level and then stops entirely, you are almost certainly looking at a leak rather than evaporation. That “stops at one level” pattern usually means the water has reached the height of a crack, a loose seal, or a gap somewhere, and it simply cannot go any lower.
It is worth remembering that the source of a leak is not always the glass itself. Filters, hoses, and plumbing connections fail more often than tank seams do, so widen your search beyond the aquarium walls.
Quick Check You Can Do Tonight
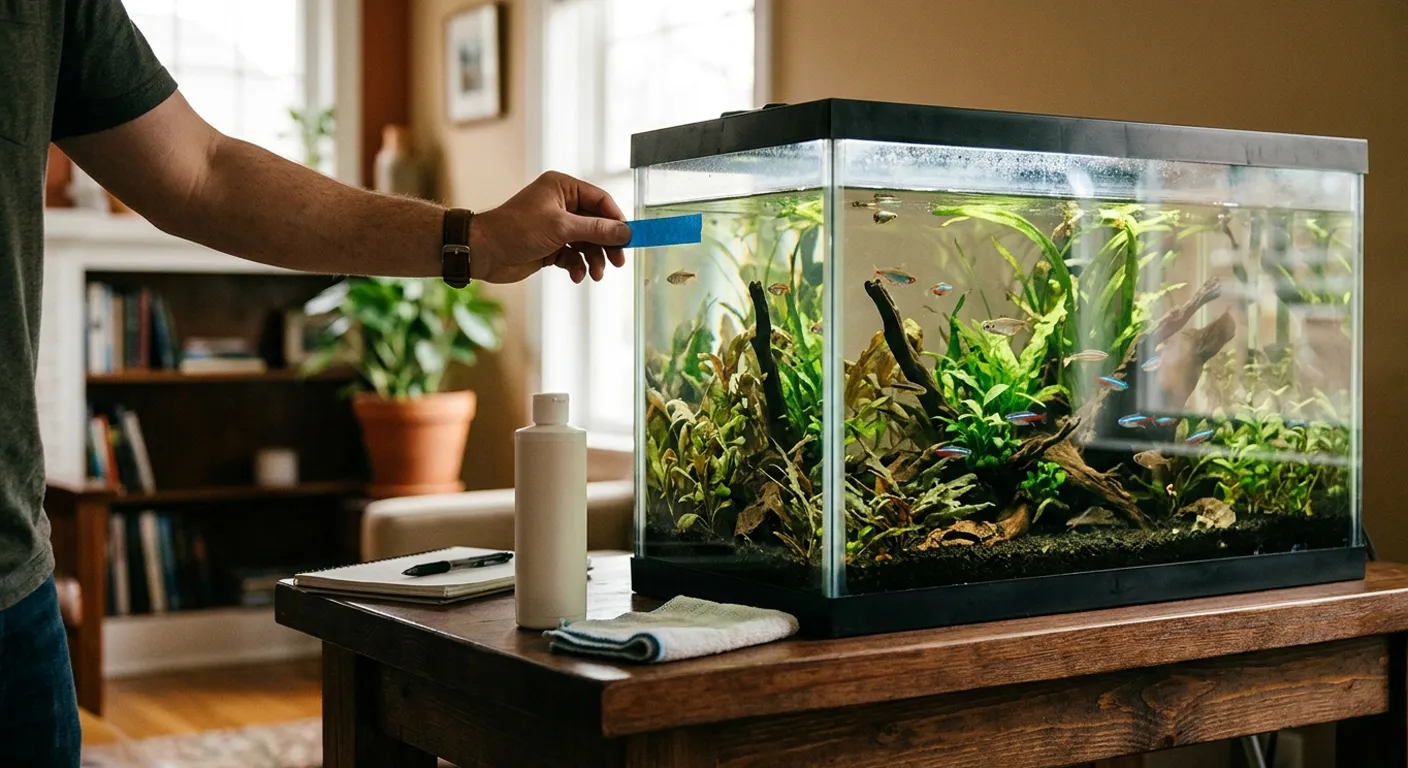
If you are still unsure which one you are dealing with, run a simple test. Mark the current waterline with a strip of tape, then thoroughly dry everything around the tank, including the stand, floor, and any nearby equipment. Recheck in a few hours, then again the next day.
While you are at it, check behind and underneath the tank as well. Small leaks often hide in these spots long before they become obvious from the front.
Four Common Reasons Your Fish Tank Keeps Losing Water
Once you have a general sense of whether you are facing evaporation or a leak, it helps to understand the specific mechanisms behind each. Here are the four most common culprits.
Evaporation
Water leaves the tank as vapor, but minerals, waste, and salt (in the case of saltwater tanks) stay behind. This is exactly why topping off a tank is not the same as performing a water change. A top-off replaces lost volume, but it does nothing to remove the waste and mineral buildup that evaporation leaves concentrated in the remaining water.
The main drivers of evaporation include warm water temperatures, dry ambient air, HVAC systems that pull moisture from a room, fans placed near the tank, an open top with no lid, and strong surface agitation from equipment.
There is no universal “normal” rate of evaporation that applies to every setup. A tall tank in a dry, air-conditioned room will lose water differently than a wide, shallow tank in a humid basement. Pay attention to your own tank’s typical pattern so you can notice when something changes.
Filter, Hose, and Splash Out Issues
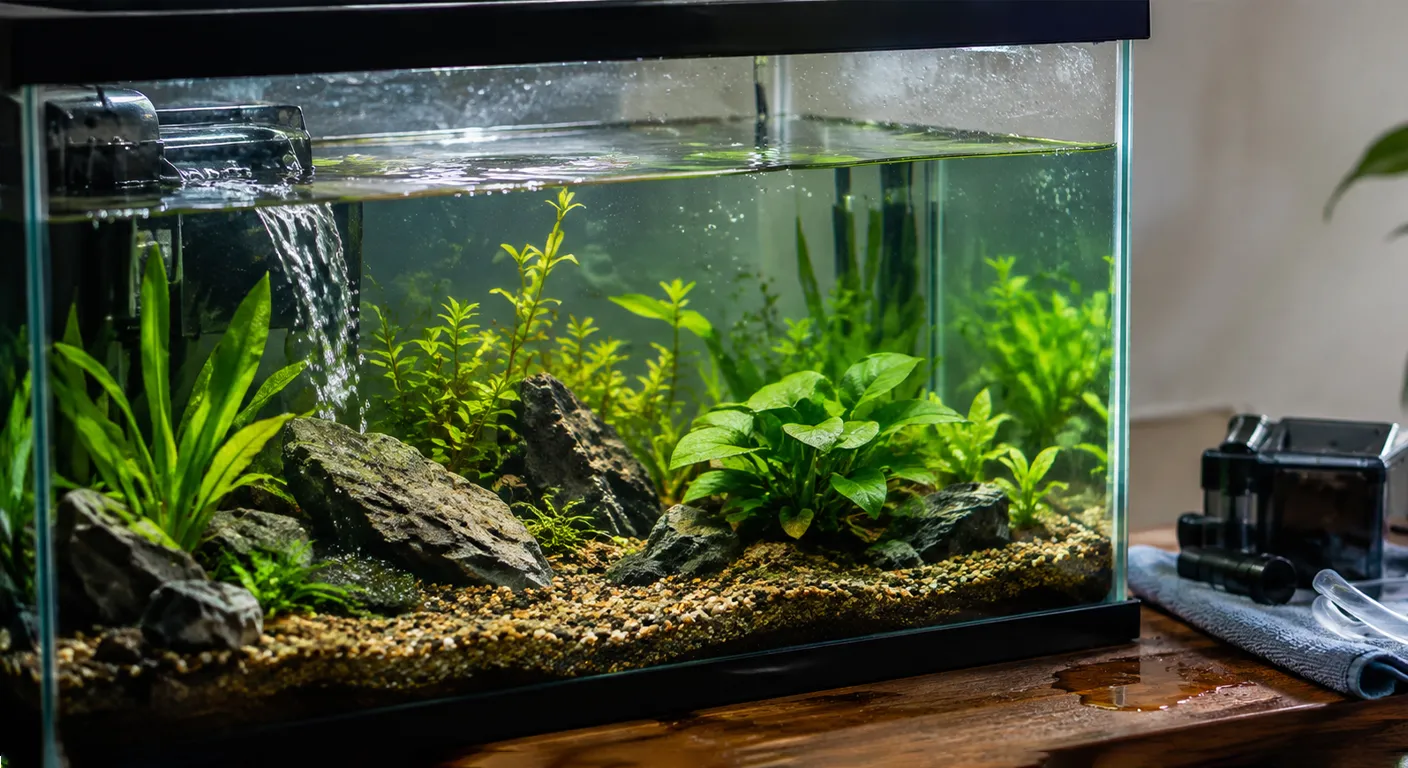
Filtration equipment is a frequent source of water loss that gets mistaken for evaporation. With hang-on-back filters, splashing or overflow can occur from clogged filter media, an incorrect water level in the chamber, or a lid that no longer sits flush.
Canister filters present a different challenge. They can develop slow drips at hose connections, valves, or seals, and these drips are easy to miss because they happen gradually and out of sight, often behind the stand.
Return outlets, spray bars, and wavemakers can also throw small amounts of water over the rim of the tank during normal operation. Over time, this adds up. Look for wet equipment, faint water trails along the stand or floor, and mineral stains, since these are strong clues that your filtration setup is the source rather than pure evaporation.
Airline Back Siphoning and Wicking
This surprises a lot of aquarium owners. If an air pump sits below the water level of the tank and then stops running, perhaps due to a power outage or an unplugged cord, water can siphon backward through the air line. This can drain a significant amount of water overnight, sometimes enough to expose a heater or strand fish in shallow water.
The fix is simple once you know about it. Keep your air pump positioned above the tank’s waterline whenever possible, and install a check valve on the air line as an extra layer of protection.
A related but separate issue is wicking, where water creeps slowly along cords, air line tubing, towels, or background material that touches both the tank and the floor. Capillary action pulls water along these materials drop by drop until it eventually reaches the ground.
To stop this, remove any wet materials that are in direct contact with the tank, and add drip loops to cords so water cannot travel along them toward an outlet.
Tank Damage and Accidents
The most serious category involves physical damage to the tank or its plumbing. This includes cracked glass, failing silicone seams, loose bulkhead fittings, or leaks in connected plumbing on larger setups.
Remember the “stops at one level” pattern mentioned earlier. If your water loss behaves this way, check the seams, hoses, and outlet fittings at that exact height, since that is almost certainly where the failure point sits.
It is also worth briefly noting the more mundane causes: spills during water changes, fish splashing water over the rim during feeding, or a lid that has come loose and allows extra evaporation or splash out. These are easy to overlook but simple to rule out.
What To Do When Water Is Disappearing
Once you have identified that water is leaving faster than it should, your next steps matter for both the safety of your fish and the health of your tank long term.
1. Keep Fish and Equipment Safe First
Before touching anything, unplug electrical equipment that sits near or in the water. This includes heaters, filters, and any lighting fixtures that could be affected by dampness. Safety comes before diagnosis.
Check that your heater remains fully submerged. A heater running while partially exposed to air can overheat and crack, creating a much bigger problem than the original water loss. Also confirm your filter is not running dry, since this can damage the motor and disrupt beneficial bacteria that keep the tank stable.
If the water loss is happening quickly, have a batch of conditioned, temperature-matched water ready as a backup, along with a way to aerate it if needed. Do not ignore fast drops, visible cracks, or active drips, even if they seem minor at first. These situations tend to get worse quickly rather than resolving on their own.
2. Refill the Tank Correctly
For freshwater tanks, always use dechlorinated water that matches the current tank temperature as closely as possible. Sudden temperature swings stress fish more than most people realize.
For saltwater or brackish tanks, the approach is different. Top off lost water with plain freshwater, ideally treated through reverse osmosis and deionization, rather than adding more saltwater. This is because evaporation removes pure water while leaving salt behind, so replacing it with more saltwater would push your salinity levels too high over time.
Keep in mind that topping off restores volume, while a water change removes accumulated waste. These two tasks serve different purposes, and one cannot substitute for the other. If a substantial amount of water was lost, refill gradually rather than all at once to avoid shocking your fish with a sudden shift in parameters.
3. Prevent It From Happening Again
Once your immediate situation is under control, a few habits can reduce the odds of dealing with this again:
Keep a waterline mark somewhere visible and check it during your regular maintenance routine
Use a lid or cover glass to cut down on both evaporation and splash out
Secure hoses and tubing so they cannot shift or work loose over time
Install a check valve, position pumps above the waterline, and add drip loops to cords near the tank
Consider an auto top-off system, but only after you have fully ruled out a leak, since an auto top-off can mask a real leak by continuously refilling the tank without addressing the underlying cause.
Conclusion
Aquarium water loss is usually the result of ordinary evaporation, but filters, hoses, splash-out, back siphoning, and physical tank damage can all lower the waterline as well. Knowing how to tell these causes apart helps you respond before a small, manageable issue turns into a serious problem for your fish and your home.
As a general rule, slow water loss with no dampness anywhere outside the tank usually points to evaporation. Fast drops, visible moisture, or active drips call for immediate inspection rather than a wait-and-see approach. Mark the waterline, dry the area around the tank, and check the equipment, hoses, and plumbing connections closely.
Taking these steps consistently, rather than only when something looks wrong, gives you a much better chance of catching problems early. A little routine attention now saves you from bigger headaches later, and keeps your tank running the way it should for the fish depending on it.
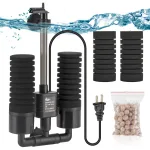
Aquarium Electric Sponge Filter (3W/5W) with Double Filtration...
Original price was: $20.39.$19.19Current price is: $19.19.
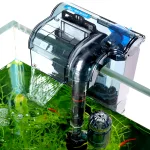
Aquariums Power Filter, 74GPH, for 5-10 Gal Tanks
Original price was: $25.99.$20.79Current price is: $20.79.

Add comment
You must be logged in to post a comment.