
Table of Content
ToggleBringing a new fish home is exciting, but the first 24 to 72 hours carry the most risk. Stress, pH shock, and disease outbreaks usually show up in that window. New fish need a gradual introduction, and your current fish need a little preparation too.
This guide covers seven steps in order. They begin with choosing a compatible fish before you buy and end with watching for stress after release. Follow them, and both the newcomer and your established fish have a much better chance of settling in.
Why a Careful Introduction Matters
Routine tank care is forgiving. Put off a water change by a few days, and most fish will not notice. Introducing a new fish is different, because problems appear within hours, not weeks.
A fish that spent a day in a shipping bag has been breathing its own waste. Ammonia builds up, pH drops, and its immune system is already weak. Dropping it straight into a tank with a different temperature or pH adds a second shock.
Then there are the tankmates. Your current fish have claimed their territory, and they will test anything new. The newcomer may also carry parasites or bacteria that showed no symptoms in the store.
Each of the seven steps below closes one of these risks. Skip a step, and the risk it covers comes straight back.
7 Steps to Introduce New Fish Safely
The steps are sequential, so work through them in order. Steps one and two happen before the fish ever touches your display tank.
1. Research Compatibility Before You Buy
This step happens at your desk or in the shop aisle, not at the tank. Once a fish is sitting in a bag, most people feel committed to it. Decide beforehand.
Three things matter most: temperament, adult size, and water type. A cute two inch fish at the store may reach ten inches within a year or two. No amount of care fixes a tank that is too small for it.
Ask the store for the scientific name. Then look it up on a database such as Seriously Fish. Common names are often shared by several species, and their needs can vary widely.
Confirm the adult size fits your tank for the long term, not just today.
Check temperament against every current tankmate, including fin nippers and bottom dwellers.
Never mix freshwater and marine species, because their salinity needs are completely different.
Add smaller, passive fish before larger, territorial ones so the peaceful group settles in first.
2. Quarantine New Arrivals
A quarantine tank is a small separate tank where new fish live before joining the main one. It does two jobs. It lets you catch disease and parasites before they reach the display tank. It also gives the fish time to recover from transport.
Two weeks is a reasonable minimum for freshwater fish. Marine keepers often stretch this to four weeks or more. Parasites like marine ich can take time to appear.
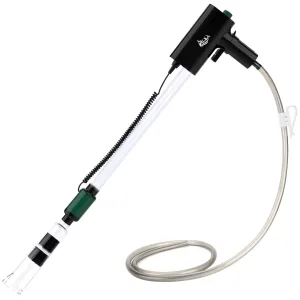
Keep separate equipment for each tank. Sharing nets or siphon hoses can carry pathogens straight into the display tank.
Basic setup: a 10 gallon tank, a heater, a gentle sponge filter, and dechlorinated water. A short piece of PVC pipe makes a good hiding place.
Run the sponge filter inside your main tank for a few weeks beforehand so it carries beneficial bacteria.
Optional: a mild dose of aquarium salt, roughly one tablespoon per 5 gallons, can support healing. Skip it for scaleless or sensitive fish such as loaches and some catfish.
Watch for lethargy, spots, clamped fins, or loss of appetite throughout this period.
3. Test and Match Water Parameters
Test the main tank and the bag or quarantine water before anything moves. The goal is to spot a mismatch early. That way you can correct it gradually instead of changing conditions in one swap.
Use a liquid test kit when you can, like the API Freshwater Master Test Kit. Liquid kits tend to be more reliable than paper strips, especially for ammonia and nitrite.
The main tank should read 0 ppm ammonia and 0 ppm nitrite. Any reading above zero means the tank is not ready.
Compare pH and temperature between source and tank water.
Aim to keep the gap within about 0.2 pH units and 2 degrees Fahrenheit.
Safe Water Parameters at a Glance
| Parameter | Ideal Reading | Why It Matters |
| Ammonia | 0 ppm | Burns gills and skin, even in small amounts |
| Nitrite | 0 ppm | Interferes with oxygen transport in the blood |
| Nitrate | Under 20 ppm | Low levels are harmless, but high levels weaken immunity over time |
| pH | 6.5 to 7.5 for most freshwater community fish | Sudden shifts cause shock, so stability matters more than the exact number |
| Temperature | 76 to 80°F (24 to 27°C) for tropical fish | Controls metabolism, appetite, and disease resistance |
| GH/KH (optional) | GH 4 to 8 dGH, KH 3 to 8 dKH | Sensitive species such as shrimp need steady minerals, and KH buffers pH swings |
These ranges suit a tropical freshwater community tank. Marine tanks usually target a pH of 8.1 to 8.4 and a salinity near 1.024 to 1.026.
4. Prepare the Tank and Existing Fish
A few small changes before the newcomer arrives reduce fighting. Territorial fish defend a layout they know well, so the idea is to change what they know.
A partial water change of 20 to 25 percent the day before also helps. It lowers nitrate and gives you fresh, stable water for the arrival.
Feed your existing fish shortly beforehand, since a full fish is less likely to chase.
Rearrange a few decorations to reset territory lines.
Add additional hiding spots such as caves, driftwood, or dense plants before release.
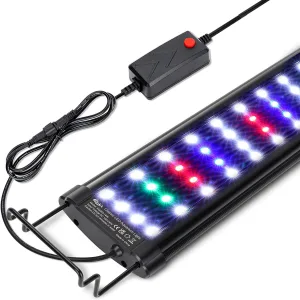
Dim or switch off the tank light to lower stress during the introduction.
5. Acclimate the Fish Gradually
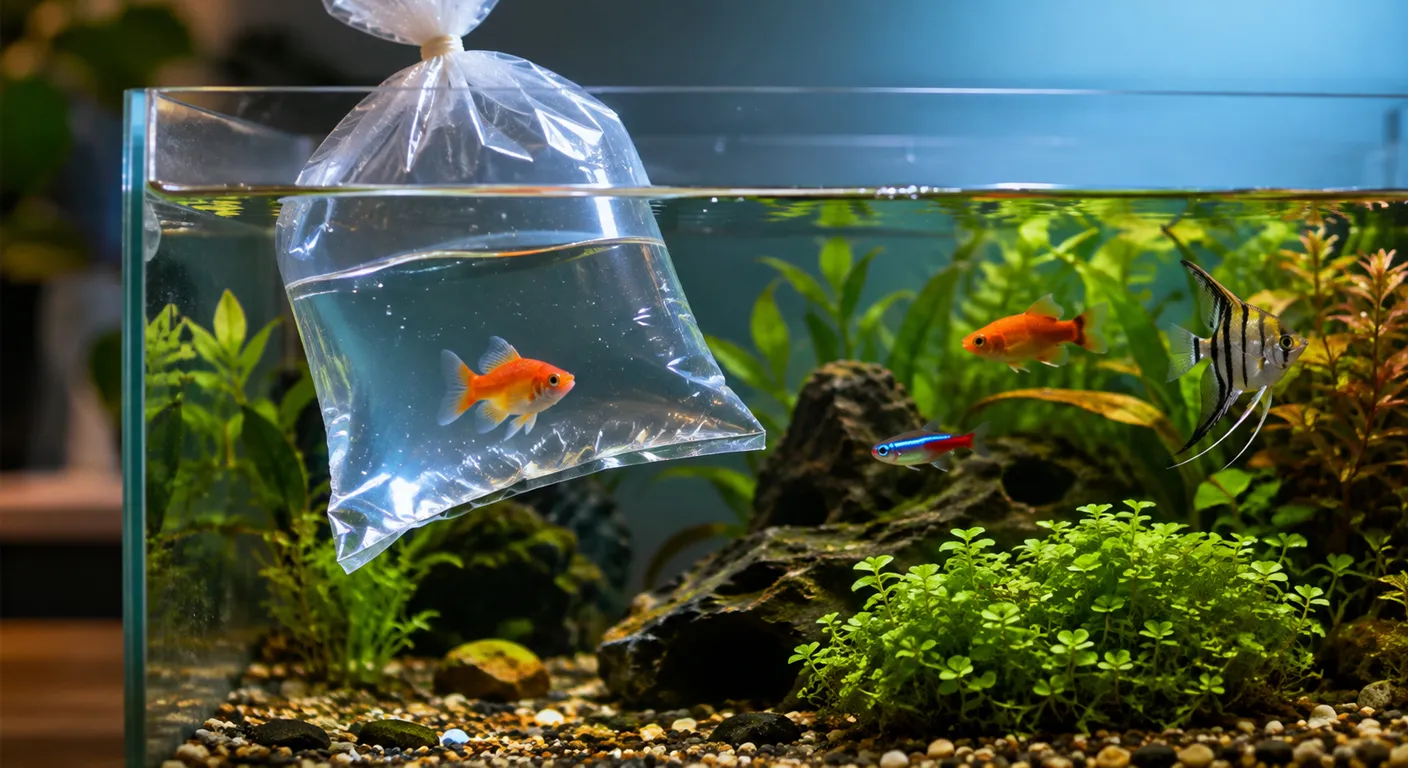
Fish cannot adjust to a swing in temperature or pH within minutes. That sudden change is what hobbyists call shock, and it can damage gills and skin. Acclimation spreads the change across 30 to 60 minutes, so the body can keep pace.
Two methods are widely accepted. Which one you choose depends mostly on how sensitive the fish is.
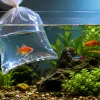
Floating bag method: float the sealed bag for 15 to 20 minutes to even out the temperature. Then add small amounts of tank water every 5 to 10 minutes, for 30 to 60 minutes total.
Drip method: for sensitive fish or invertebrates, use an airline hose to drip tank water into a bucket. Aim for roughly 2 to 3 drops per second, controlled with a loose knot or small valve.
Keep the room and tank lights off during either method to limit added stress. Cover the bucket loosely during a drip, because stressed fish often jump.
Floating Method vs. Drip Method
| Feature | Floating Method | Drip Method |
| Best for | Hardy fish from water similar to your own | Sensitive fish, invertebrates, and marine species |
| Time needed | 30 to 60 minutes | About 1 hour, longer for invertebrates |
| Equipment | Sealed bag and a small cup | Bucket, airline hose, and a valve or knot |
| Process | Float the bag, then add tank water in small steps | Tank water drips slowly into the bucket holding the fish |
| Water exchange | A small amount added every 5 to 10 minutes | Continuous drip until the volume roughly doubles, then discard half and repeat |
| Typical use case | Tetras, guppies, and danios from a local shop | Shrimp, snails, marine fish, and wild caught species |
| Risk if skipped or rushed | Temperature and pH shock | Osmotic shock, which is often fatal to invertebrates |
6. Release the Fish Properly
The final handoff is simple, but two details matter. Move the fish by net, and never let the transport water enter your tank. That water holds ammonia, waste, and possibly pathogens from the store.
Use a clean net to scoop the fish out of the bag or bucket, moving slowly.
Release the fish calmly near the surface, ideally with the lights still off.
Pour the transport water down the drain once the fish is in the tank.
7. Observe Behavior After Introduction
Your job does not end at release. The first few hours and days show whether the transition is going well. Check in during the first hour, then a few times a day for the next two days.
Some hiding is normal. Many fish stay behind decorations for a day while they learn the layout.
Keep a short log of feeding, breathing, and behavior for the first week. Small changes are easier to spot on paper.
Watch closely for hiding that lasts beyond a day, rapid breathing, color change, or clamped fins.
Hold off on heavy feeding the first day. Offer a small portion after several hours, then return to normal once the fish settles.
Wait one to two weeks before adding another new fish. This spaces out stress and disease risk, and it gives the filter time to handle the added waste.
Signs of Stress or Trouble After Introduction
Use this as an act now list to check if there are any signs of stress. If you see any of these, move to the next section.
Refusing food or visible weight loss
Labored or rapid breathing, often at the surface
Clamped fins, faded color, sores, or white spots
Loss of balance or erratic swimming
Multiple fish affected at once, which may point to disease spread
What to Do Next If a New Fish Shows Stress
Stress does not always mean disease. Often the cause is water quality or a bullying tankmate, and both can be fixed.
Test water parameters immediately, starting with ammonia, nitrite, pH, and temperature.
Observe for 24 to 48 hours before intervening further, unless the fish is clearly getting worse. Avoid adding medication without a confirmed cause.
Move the fish to a hospital or quarantine tank if illness is suspected.
Consult an aquatic vet or an experienced fishkeeping community if several fish are affected or symptoms worsen.
Conclusion
Introducing a new fish comes down to seven steps in order. The sequence covers compatibility research, quarantine, water testing, tank prep, slow acclimation, careful release, and close observation.
Most new fish problems come from a skipped or rushed step, not from bad luck. A shortened quarantine or a five minute acclimation is usually where the trouble starts.
Give the process its full one to two weeks before judging the result or adding another fish. Patience costs very little, and it protects every fish already living in your tank.
Related Products For Your Reference
3.7 Gal Aquarium Kit: Filter, 10-Color Light, Self-Cleaning,...


Add comment
You must be logged in to post a comment.