
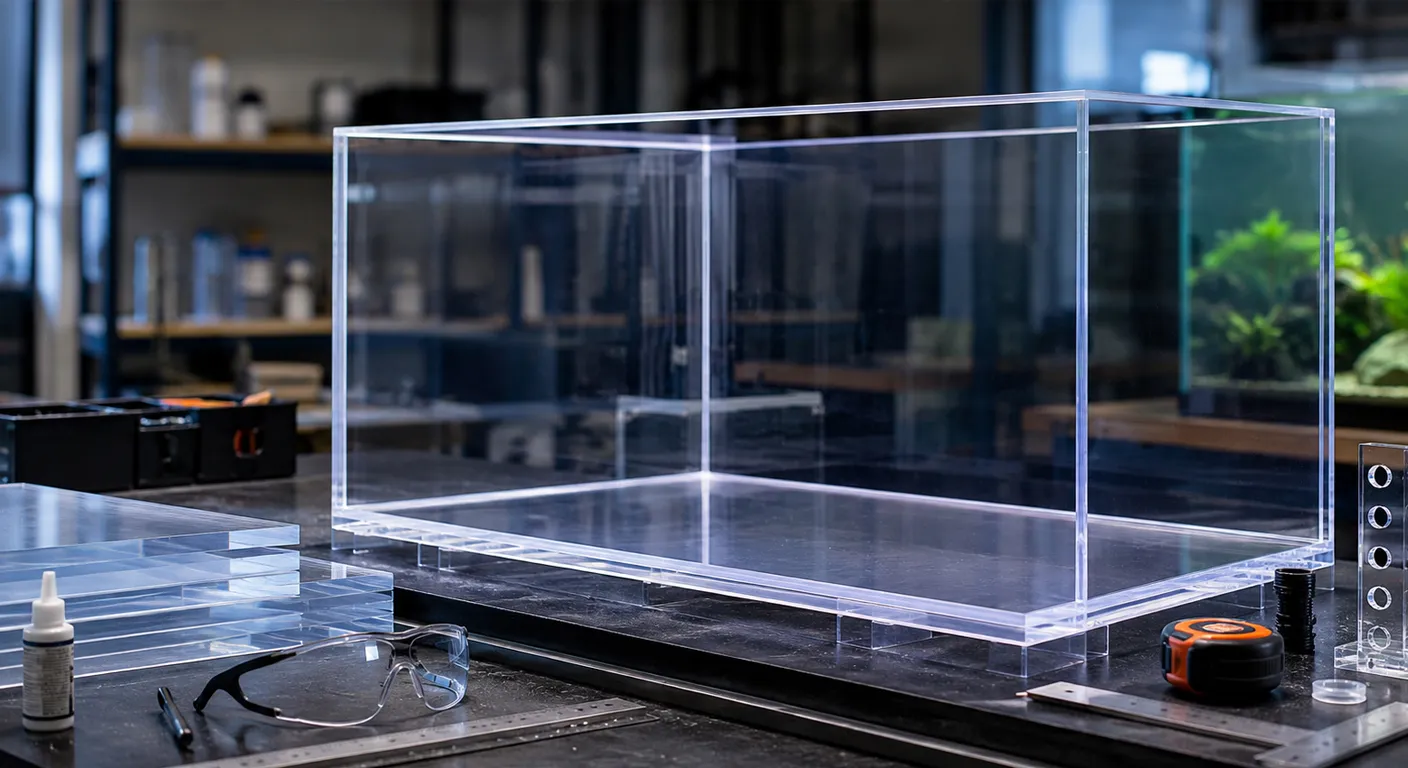
A DIY acrylic aquarium lets you build a tank around your exact space, your fish, and your aquascape idea instead of settling for whatever size the pet store happens to stock. That freedom is the whole appeal. Acrylic is light, forgiving to cut and drill, and well suited to specialty shapes that glass simply cannot manage without a professional shop.
But a safe build depends on several things lining up correctly: The right grade of material, precise bonding, adequate support underneath, a full cure before any water goes in, and a leak test that actually proves the tank is sound.
Skip any of these steps, and you are gambling with gallons of water sitting on your floor. This guide walks through deciding whether DIY acrylic suits your project, planning the tank and gathering materials, and building a support system that will not flex. Along the way, we will also discuss the bonding panels the right way, leak testing before setup, and the mistakes that sink most first attempts.
Is a DIY Acrylic Aquarium Right for You
Before buying a single sheet, it helps to be honest about scope. Acrylic rewards careful planning and punishes shortcuts, so knowing where you fall on that spectrum saves money and heartache later.
Why Choose Acrylic
Acrylic differs from glass in ways that matter for a DIY build, not just in looks.
It is lighter than glass, which makes handling large panels during construction far more manageable.
It cuts, drills, and shapes more easily, so custom footprints and unusual proportions are within reach.
It suits specialty designs such as long shallow tanks or tanks built around custom filtration layouts.
It resists impact better than glass, though it scratches more easily during cleaning and maintenance.
It relies on solvent-bonded seams rather than the silicone seams typical of glass aquariums.
Here is a quick side-by-side for readers weighing the acrylic and glass material:
| Factor | Acrylic | Glass |
| Weight | Lighter, easier to handle | Heavier, harder to move |
| Clarity | Slightly clearer, less green tint | Can show a green tint at thickness |
| Scratch resistance | Scratches easily | Resists scratching well |
| Impact resistance | Flexes and resists cracking | Can shatter under sharp impact |
| Custom shapes | Cuts and bends readily | Limited to flat panel designs |
| Seam method | Solvent welded | Silicone sealed |
| Cost at large sizes | Often more economical | Often pricier at scale |
Neither material wins outright. The right choice depends on your budget, the size and shape you want, how complex the design is, and how much scratch maintenance you are willing to do over the years.
When DIY Is Realistic
Some projects are genuinely approachable for a first-time builder:
Small, simple rectangular freshwater aquariums with no unusual angles.
Builds using professionally cut, verified acrylic panels rather than sheets you cut yourself.
Projects where you have real time set aside for dry fitting, curing, and leak testing, not a rushed weekend.
Tanks you can test on a garage floor or driveway, away from finished flooring and away from any livestock.
When to Choose a Professional
Other projects carry enough risk that hiring a fabricator is the wiser move:
Large, tall, rimless, curved, or otherwise unusually shaped aquariums.
Tanks with large cutouts, overflows, bulkheads, or plumbing that needs to route through multiple panels.
Upstairs installations, built-ins, commercial displays, or any tank holding high-value livestock.
Any project where you cannot personally verify panel thickness, bracing requirements, seam design, and the support the tank needs.
Plan the Aquarium Before Ordering Materials
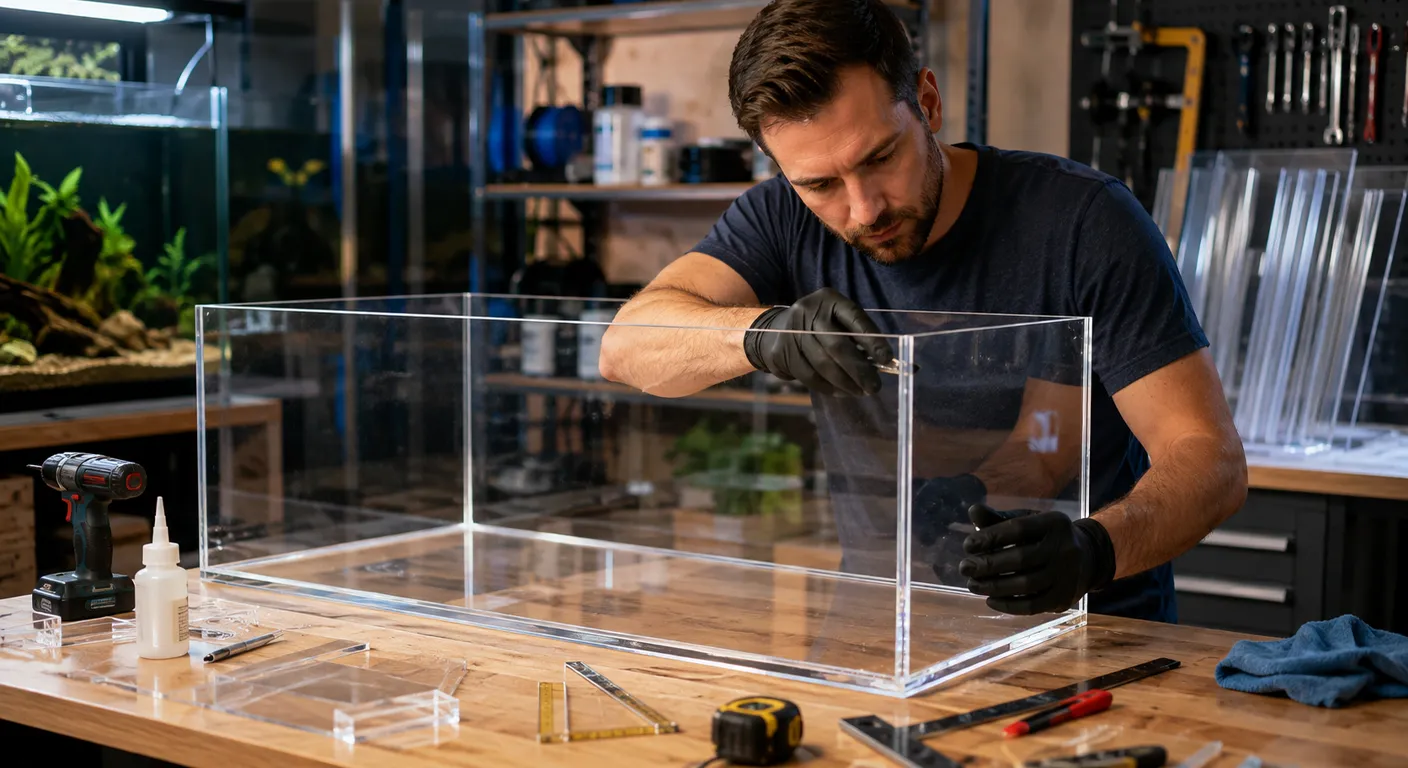
A tank plan drawn on paper first will save you from panels that do not fit the room, plumbing you cannot reach, and a stand rated for the wrong weight.
1. Define the Purpose, Dimensions, and Usable Volume
Start with the fish, plants, filtration, and aquascape concept you actually want, not just an empty corner of the room that needs filling. Plan for real swimming length, water depth, substrate depth, and the space that rock and driftwood will displace once they sit in the tank.
Leave enough clearance for lids, lighting fixtures, filter hoses, netting during water changes, heater removal, and routine algae cleaning. If you are planning an overflow or sump design, work out the water flow path and what happens during a power outage before you cut a single panel.
2. Choose the Right Acrylic Sheet
The phrase acrylic sheet does not automatically mean the material is rated for holding water. Confirm the exact material type, thickness, condition, and intended use directly with your supplier before ordering. Cell cast acrylic is the standard choice for aquarium fabrication because of its clarity and strength.
Avoid unidentified sheets, damaged stock, panels that are thinner than specified, recycled material, or bargain offcuts for anything meant to hold water long term. A few dollars saved on questionable material is not worth a flooded room.
3. Plan Access, Plumbing, and Openings Early
Decide where bulkheads, return lines, overflows, filter intakes, power cords, and airline tubing will pass through the tank before you bond any panels together. Leave enough clearance around each hole for gaskets, fittings, and future maintenance access.
Design openings wide enough to plant your aquascape, clean the substrate, remove equipment, and safely net a fish if you ever need to catch one in a hurry. Avoid drilling holes at the last minute or cutting an oversized top opening, since either mistake can weaken the overall rigidity of the finished tank.
4. Estimate the Full Setup Weight
Water alone is heavier than most first-time builders expect. A simple formula gets you close: multiply length by width by height in inches, divide by 231 to get gallons, then multiply by 8.34 pounds per gallon for freshwater.
A tank measuring 36 by 18 by 18 inches holds roughly 67 gallons, which works out to about 560 pounds of water before you add anything else. Substrate, rockwork, driftwood, filtration equipment, and lighting can add a meaningful amount on top of that figure, so factor the full stack, not just the water, when you size your stand.
Build the Stand and Support System First
The stand and its support surface deserve attention before you even think about bonding panels, because an uneven or undersized base is one of the most common causes of acrylic failure. Full, even support under the entire base panel matters more with acrylic than with glass. Acrylic flexes slightly under load, and any gap beneath the base can turn into a stress point over months of use.
A stand built only around the edges, or one with a single center brace, will not distribute weight the way a solid acrylic bottom needs.
Level the stand carefully before the tank ever touches it, using a long level checked from multiple directions rather than a glance. However, even a small tilt concentrates weight unevenly across the seams and can shorten the life of the bond.
Many builders also add a support mat, typically a sheet of rigid foam cut to the exact footprint of the tank, to fill any microscopic gaps between the stand surface and the acrylic base. Whether you need one depends on how flat and rigid your stand surface actually is.
A plywood top that has been checked with a level and shows no flex under pressure may not need one, while a stand with any visible unevenness almost certainly does.
Bond the Panels Carefully
Every acrylic tank lives or dies by the quality of its seams, so this stage deserves more patience than any other part of the build.
Prepare Panels for Strong Seams
Work on a stable, flat surface in a clean area with good ventilation. Dry fit every panel before touching any solvent cement, checking that each joint sits flush without gaps.
Bonding edges need to be square, smooth, and completely clean, free of dust, oils, saw marks, and any leftover protective film residue. Use jigs, clamps, and temporary supports to hold panels in position and prevent movement while the joint is curing.
Understand Solvent Bonding
Water-thin acrylic cement works through capillary action. It flows into a close-fitting joint, softens the acrylic surfaces on contact, and forms a true bond. It cures rather than simply gluing the surfaces together. This is fundamentally different from how glass tanks are assembled.
Standard aquarium silicone should never be treated as a structural substitute for a properly solvent-bonded acrylic seam, since it does not fuse the material the same way. Always follow the solvent cement manufacturer’s instructions closely and work in proper ventilation, since acrylic cement produces fumes that build up quickly in an enclosed space.
Inspect Seams Before Proceeding
Check every joint for gaps, large trapped bubbles, uneven panel contact, cloudy patches, misalignment, or any sign of movement. Shining a flashlight behind a dry-fitted joint before cementing can reveal poor edge contact that is invisible to the naked eye otherwise.
If a joint is not bonded correctly, applying extra cement over the top is not a reliable fix and will not restore the structural strength that joint needs. Follow the manufacturer’s full cure schedule rather than stopping at the initial handling time, since a joint can feel solid to the touch long before it has reached full strength.
Leak-Test Before Setting Up
Test the tank somewhere a failure will not cause real damage, such as a garage floor, driveway, or basement with a drain nearby. Never finished flooring inside the house. Fill the tank slowly in stages rather than all at once, pausing at intervals to walk the full perimeter and inspect every seam, corner, and drilled opening for weeping or drips.
A slow fill also gives the panels time to settle under load gradually instead of all at once, which is closer to how the tank will behave in daily use. Once the tank holds a full fill with no signs of leaking for at least twenty-four hours, you can move on to setting it up permanently.
Setting up and maintaining an acrylic aquarium calls for a slightly different routine than glass. Use only acrylic-safe cleaning pads and cloths, since standard algae scrapers and paper towels can leave fine scratches that cloud the surface over time. Keep an eye on the seams periodically even after setup, checking for any new cloudiness or separation that was not present during the original leak test.
Common DIY Mistakes
A few recurring mistakes account for most acrylic tank failures, and each one is preventable with a bit more patience.
Guessing thickness or bracing. Choosing panel thickness by eye or copying a number from an unrelated build ignores the actual load your specific tank will carry.
Skipping full bottom support. A stand that only touches the edges of the base leaves the center panel unsupported and prone to stress cracks over time.
Rushing curing or leak testing. Filling a tank before the solvent bond has fully cured, or testing for only an hour instead of a full day, hides problems that surface later under load.
Cleaning acrylic like glass. Using glass-rated scrapers, gritty pads, or paper towels on acrylic introduces fine scratches that dull clarity permanently.
Conclusion
Building a DIY acrylic aquarium starts with choosing the right materials, planning the design in detail, providing genuinely full support, bonding the panels correctly, and completing a thorough leak test before anything gets set up for good. Do not guess on acrylic thickness, bracing, or the structural support your stand needs to provide.
Take the time for dry fitting, curing, leveling, and testing, since that patience is what prevents an expensive failure months down the line. If this is your first build, start with a small, simple rectangular tank and use it to build real experience before attempting something large or heavily customized. The skills carry forward, and a successful small tank teaches far more than a failed ambitious one ever will.
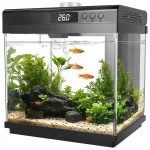
3.7 Gal Aquarium Kit: Filter, 10-Color Light, Self-Cleaning,...
Original price was: $81.99.$77.39Current price is: $77.39.




Add comment
You must be logged in to post a comment.